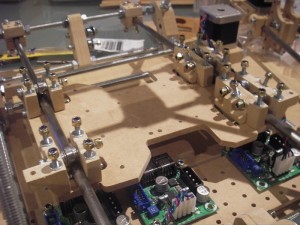
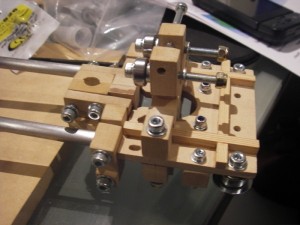
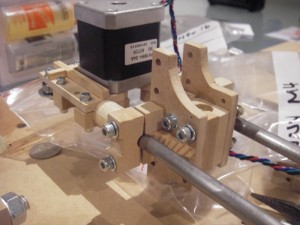
So you know that RepRap I spent all my money & time building a few years back? Well it’s been sitting in a cupboard doing nothing for a long while now so I have decided to put it up for adoption. (more…)
Victory!
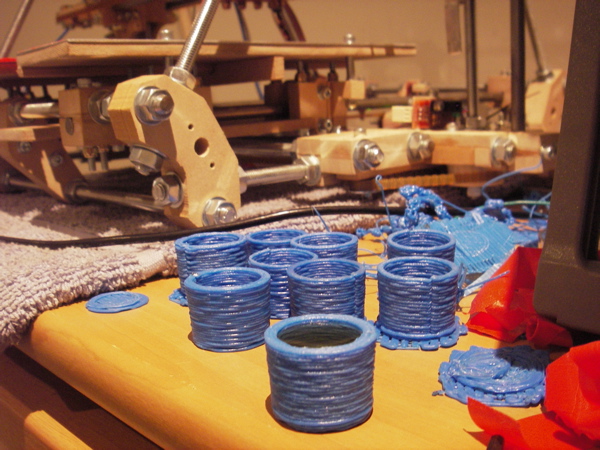
Well it’s been a very long 12 months, and I’ve spent way more cash then I intended but my Mendel is finally capable of printing stuff! Most importantly: booze proof stuff!
I’ve been obsessing with it over the past week to tweak all the various knobs in such a way that the parts come out neat enough to actually be water-tight, which has been my success criteria the whole way along.
The extruder was an absolute pain, but I’ve managed to hack it together enough that it actually runs quite reliably, just a bit slow for my taste. I’m working on a geared extruder as I type.
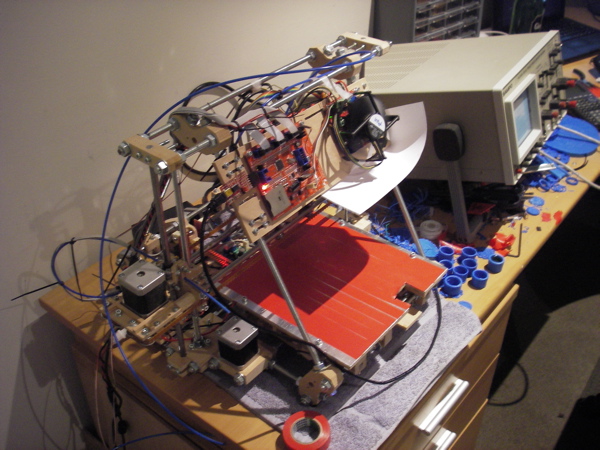
I also had heaps of trouble getting parts to stick, and stay stuck to the printing surface. So I hacked together a heated bed. It does very well at being warm and not catching fire, but I’m only pumping 30W into it. While this helped getting things to stick, it doesn’t stop larger parts warping and lifting off. So this weekends job is to bump that up around 100W.
I have a lot more detail to go into about these various things, and I know at least one of you is waiting on some source code (I’m getting to it :P). I’ll save these for future posts once I have some complete comments to make, rather than half finished ideas.
In the mean-time, Cheers! 🙂
It Lives!
So I spent the last week removing RJ45 connectors from my electronics. Aparrently the requirements for the Mendel are quite different than the Darwin, which was the goal back when I put them together. So after reparing all the tracks I lifted from the PCBs removing things, I laid out the cables around the machine and tied them down. I think I’ve done a rather neat job.
I also had to setup the end stops, which I haven’t really calibrated yet. They’re close enough without anything colliding which will do until I’m ready to try printing. I used some 18 gauge aluminium sheet for the triggers which was easy enough to machine and soft enough to adjust later.
I grabbed the latest software and firmware from SVN and after a bit a fiddling I managed to have it all working from my macbook. The biggest problem is the RXTX library for serial communication. On 10.6 machine, the 32bit version won’t work so you either need to compile it yourself, or just grab it from this guy.
The extruder isn’t finished yet and I’ve ordered a replacement belt for the Z-axis, but here it is! It’s not actually printing anything, but everything up to that point seems to be working swell 🙂
More Progress – Now a Sprint to the Finish!
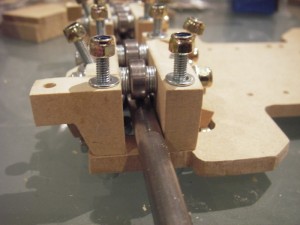
My Mendel is still progressing. I’ve recently completed the Y-Axis including the bearing mounts, chassis and print surface. The bearing are a little tighter on the rails then I would like, probably due to my laziness drilling the slots to allow for their movement. It’ll do until I print replacements.
I also made the nut-jigs and nut traps the live on the ends of the X axis, so I can finally assemble them. I do still need to make the 360 bearing mounts. These bits are pretty tricky.
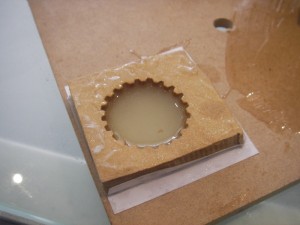
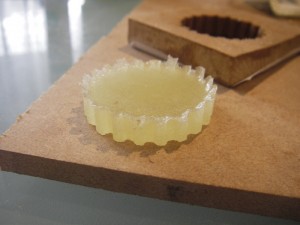
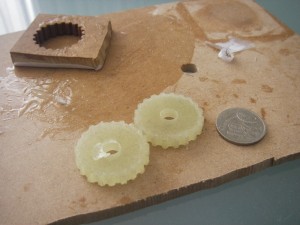
And finally; I’ve also made the driven gears for the bottom the lead-screws. I surprised myself with these. I certainly didn’t plan on making them when I woke up. I was considering making them from MDF like everything else, but decided they wouldn’t last very long. Instead, I ended up cutting a gear shaped hole, smothering it in vaseline (bear with me here) and then filling it with epoxy. I had very little expectation that this would actually work. MDF isn’t the greatest mould, nor is epoxy the greatest thing to mould. The results were surprisingly good!
The usual technique is to use a length of belt around the inside of the mould to ensure the tooth profile matches. I don’t have any belts yet so I’ve just used the template amongst the reprap parts.
I did just order timing belts today from Small Parts and Bearings. Their site is a little tricky, but I managed to get all the belts I need for about $45 including shipping. I’ve also got my order loaded from MakerBot to get some nichrome, thermistor, end-stops and most exciting of all: actual plastic! 🙂 I plan to find a local plastic manufacturer for a longer term supplier. Complete Plastic Welding Supplies look to be the best (only?) option. But my first batch will be a sexy blue Mendel :). I still need kapton tape, which a mate of mine says he can give me.
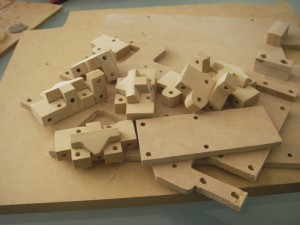
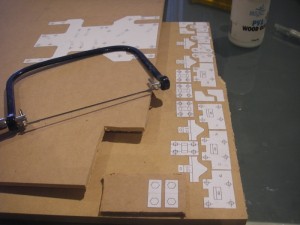
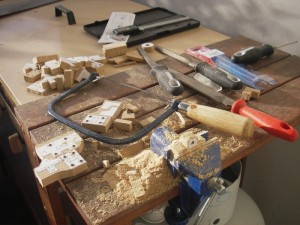
So all those bits are on their way, I just need to cut the final RP parts. I’m going to attempt all of them from MDF and have prepared all my stencils. Hopefully I’ll have them all done by Sunday afternoon, coping saw induced RSI permitting.
Some Retroactive Justification
For some reason I’m up rather early this morning. Having done all the prep work I needed last night, I have nothing to do but wait until a time I can start banging away without disturbing my neighbours. So I figure this is a perfectly good time to come up with some justification for why I’m going to all this effort.
Ideally I would have gotten all these parts printed by some kind RepRap owner for a case of beer or similar trade. It quickly became apparent that the effort required to print these parts is enough to turn most generous folk away. The next option was to have the parts printed by a commercial service. The cheapest I’ve seen has been Shapeways who have a number of materials to choose from. The most appropriate for RepRap parts is the ‘white, strong and flexible‘ which currently costs $1.50 US per cubic centimetre.
While this may sound cheap (in fact it’s quite reasonable given the quality of the parts produced), this spreadsheet (webpage) illustrates the actual costs involved in a complete set of RepRap parts. I’ve used SolidWorks to calculate the volume of each part. The green and yellow indicated which parts I’ve cut from MDF already, or already have plans to, respectively.
After looking at these numbers I feel pretty justified :). But what about all the money I did spend on tools and materials? Well so far I’ve saved around $1300 US making the parts myself. I’ve definitely spent a few bucks on tools and MDF, but I’ll admit I haven’t really been tracking it very well. A rough estimate of the tools and materials related specifically to the printed parts (not including fasteners and electronics etc.) would be around $250-$300 AU. The biggest purchase being a drill-press, which I shall cherish for many years to come. Of course I’ll still have all my tools long after this project is finished.
Finally; just so I don’t justify my RepRap itself out of useful-ness, there is a lot of effort involved in cutting each of these parts by hand, and the few parts I have remaining are going to be quite difficult. So while I’m arguing against spending thousands of dollars getting bits printed, the actual process of 3D printing is way easier than the alternative! Hopefully the price will someday reflect this.
